In this Tutorial you will learn how to setup a Phoenix Project and the database. You'll also learn how to use Phoenix amd create a simple Blog, but there's also a section about the final Deployment of your Phoenix Blog.
You should already have installed Erlang 22 or later, with Elixir 1.12 or later. Also the Hex Package manager should be installed (
mix local.hex) and alsophx_new(mix archive.install hex phx_new)
Linux Users: If you want live-reload to work in your Dev-Environment be sure to install inotify-tools
Create the Application
mix phx.new <name/folder> --database postgres --no-mailer
name is a placeholder for the Name of your Application. It generates the new bootstrapped application in a folder with that name and names the main module after it.
--database selects the database you want to use in your Application, in our case Postgres, which is also the recommended DB by the Team behind Phoenix.
Finally --no-mailer excludes the Email-Sending component from being generated.
Setup Database
Since it‘s so simple to setup a Postgres Database in our Dev-Environment with Docker, I have written this config, which comes with Pgadmin a Postgres Web Admin UI.
Simply copy the contents of that Folder into your project and run your Database.
Initialize Database
Database needs to be running for this
Run mix ecto.create which will configure the Database specified in the config file config/dev.exs.
Start Server
Run either of those commands to start the Development server.
mix phx.server
Or run the server inside of Interactive Elixir
iex -S mix phx.server
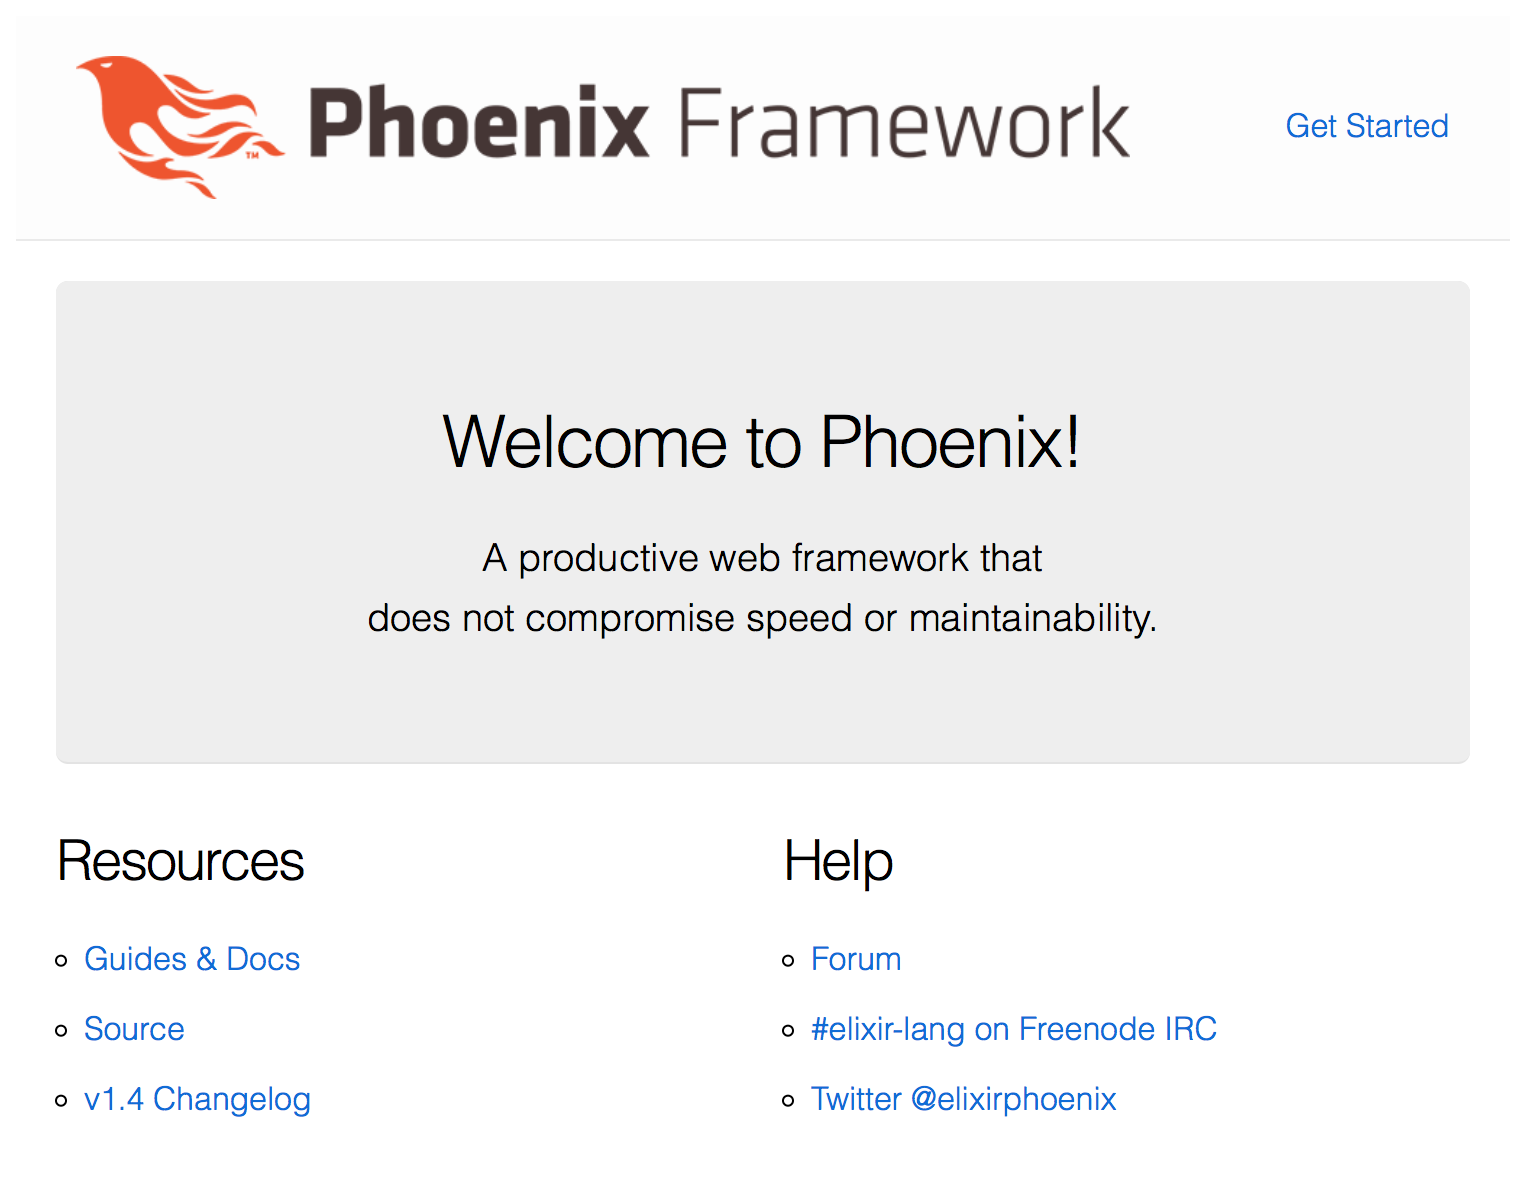
Your Phoenix Application should now be running at http://127.0.0.1:4000
If you can see this picture you have yourself a working Phoenix Application.
